Budget Smoked Drumsticks: Max Flavor & Crispy Skin in 7 Steps
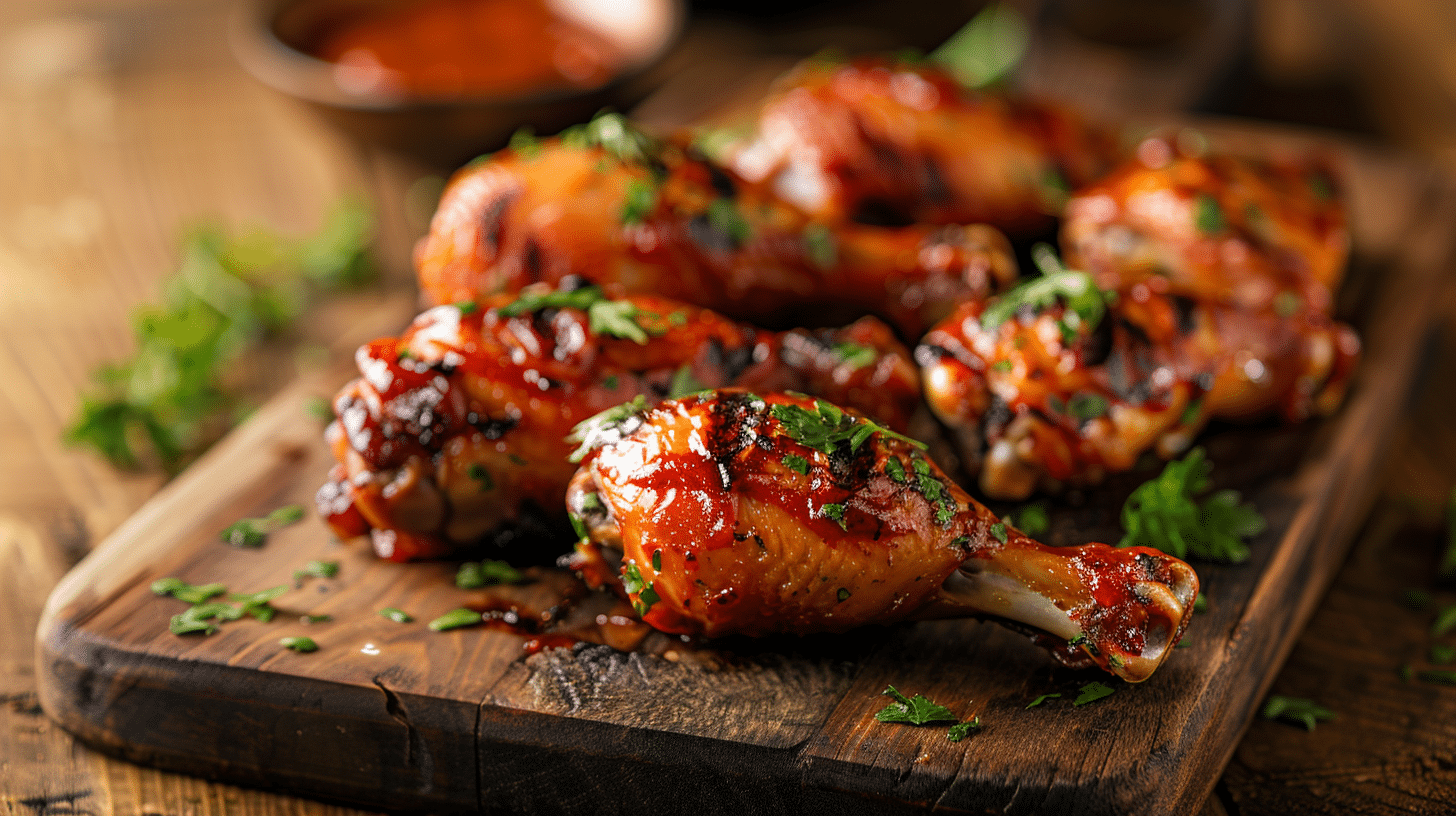
Who doesn't love the irresistible aroma and mouth-watering taste of perfectly smoked chicken? While premium cuts can lighten your wallet, there's a superstar in the poultry world that offers incredible flavor without breaking the bank: the humble chicken drumstick. This comprehensive guide will walk you through a tried-and-true
smoked chicken legs recipe designed to deliver maximum flavor and that coveted crispy skin, all within a simple 7-step process. Get ready to impress your friends and family with juicy, smoky drumsticks that are truly unforgettable.
Why Smoked Chicken Drumsticks Are Your Next BBQ Obsession
Chicken drumsticks are a barbecue enthusiast's best-kept secret. They are incredibly affordable, making them perfect for feeding a crowd or simply honing your smoking skills without financial stress. Beyond the budget-friendly aspect, drumsticks boast rich, dark meat that handles the low-and-slow smoking process beautifully, resulting in incredibly juicy and tender bites. When prepared correctly, the skin renders to a delightful crispness, providing a fantastic textural contrast to the succulent meat beneath. This
smoked chicken legs recipe proves that you don't need expensive cuts to achieve gourmet results.
The Secret to Unforgettable Flavor & Crispy Skin: Brining & Prep
The foundation of any great smoked meat lies in its preparation. For chicken drumsticks, this means paying close attention to both flavor infusion and skin texture before they even hit the smoker.
Step 1: The Flavor Foundation – Wet Brine Your Drumsticks
Brining is the game-changer for moist, flavorful smoked chicken. It's a centuries-old culinary technique that permeates the meat with moisture and seasoning, ensuring your drumsticks stay incredibly juicy throughout the smoking process. While dry brining has its merits, a wet brine ensures deep flavor penetration and a consistently tender result.
To create your ultimate wet brine:
- In a large container or food-grade bucket, combine 4 quarts (1 gallon) of cold water, ½ cup of kosher salt, and ¼ cup of granulated sugar. Stir vigorously until the salt and sugar are completely dissolved.
- Add ½ cup of apple cider vinegar, which tenderizes the meat and adds a subtle tang.
- Infuse with aromatics: Incorporate 4-6 cloves of crushed garlic and ½ an onion, roughly chopped. The oils and flavors from these ingredients will further enhance the brine.
- Submerge your chicken drumsticks (typically 2-4 lbs or 8-12 drumsticks) completely in the brine. Ensure every surface is in contact with the solution. If packed tightly, give the container a shake midway through the brining time to redistribute.
- Cover the container and refrigerate for a minimum of 12 hours, and ideally up to 24 hours. Food safety is paramount: always keep chicken refrigerated during brining.
This step is crucial for an
easy smoked chicken legs recipe brine for ultimate juiciness. The longer soak allows the brine to work its magic, transforming ordinary drumsticks into flavor powerhouses.
Step 2: Air Dry for Superior Crispness
Once brined, remove the drumsticks from the solution and pat them thoroughly dry with paper towels. While optional, air drying takes your crispy skin game to the next level. Arrange the drumsticks on a wire rack set over a baking sheet and place them uncovered in the refrigerator for at least 4 hours, or even overnight. This process removes excess surface moisture, allowing the skin to render and crisp up beautifully during smoking, preventing that dreaded rubbery texture. For more on this technique, check out our guide on
Crispy Skin Smoked Chicken Legs: Juicy Flavor, No Rubber!
Step 3: Seasoning for Success – The Dry Rub
A good dry rub adds another layer of flavor and helps create a beautiful bark on your smoked chicken. While you can certainly use your favorite store-bought BBQ rub, crafting your own allows for customization.
A simple, effective dry rub can include:
- 2 tablespoons smoked paprika
- 1 tablespoon garlic powder
- 1 tablespoon onion powder
- 1 tablespoon brown sugar (for caramelization)
- 1 teaspoon cayenne pepper (adjust to your spice preference)
- 1 teaspoon black pepper
- 1 teaspoon kosher salt (optional, as the chicken is brined, but a little extra on the surface can enhance crust)
Generously apply the rub to all surfaces of the drumsticks, ensuring you get some *under* the skin as well. This creates a flavorful barrier directly on the meat.
Mastering the Smoker: Temperature & Technique
With your drumsticks perfectly prepped, it's time to fire up the smoker and get ready for some low-and-slow magic.
Step 4: Preheat Your Smoker to Perfection
Preheat your smoker to a consistent 225°F (107°C). Maintaining a stable temperature is key to evenly cooked, tender meat.
- For pellet grills: Most pellet grills hold temperature well. If your model has a "Super Smoke" or similar setting, now is the time to engage it for maximum smoky flavor.
- For other smokers (offset, charcoal, etc.): Consider adding a shallow pan of water to the corner of your smoker. This helps maintain moisture in the cooking chamber, preventing the chicken from drying out. Use your preferred wood chunks or chips – hickory, apple, and cherry are all excellent choices for chicken, offering a mild to medium smoke flavor.
Step 5: The Smoking Process – Low & Slow
Once your smoker is at temperature and producing clean smoke, place the seasoned drumsticks directly on the grill grates. Ensure there's space between each piece for even air and smoke circulation. Close the lid and let the smoker do its work.
Typically, drumsticks will take 2.5 to 3.5 hours to reach an internal temperature of 165°F (74°C). The exact time will depend on the size of your drumsticks and the consistency of your smoker's temperature. Always use a reliable meat thermometer inserted into the thickest part of the drumstick, avoiding the bone, to monitor doneness.
Step 6: The BBQ Sauce Glaze (Optional, but Recommended!)
If you love a sticky, saucy finish, this step is for you! Once your drumsticks have reached an internal temperature of around 155-160°F (68-71°C), it’s time to baste. Generously brush your favorite BBQ sauce onto all surfaces of the chicken. Close the smoker lid and continue cooking for another 15-30 minutes, or until the internal temperature reaches 175°F (80°C) and the sauce has caramelized and set. Cooking chicken legs to 175°F (sometimes even 180°F) helps render fat and create an even crispier skin, without drying out the dark meat.
Step 7: The Grand Finale – Resting for Juiciness
The final, often overlooked step is resting. Once your drumsticks have reached their target internal temperature (165°F for un-sauced, 175-180°F for sauced and extra crispy), remove them from the smoker and place them on a clean cutting board or serving platter. Loosely tent them with foil and let them rest for 10-15 minutes. This allows the juices to redistribute throughout the meat, ensuring every bite is incredibly tender and succulent. Skipping this step can lead to dry chicken, as the juices will simply run out when cut.
Tips for the Ultimate Budget Smoked Drumsticks
- Wood Choice Matters: For chicken, lighter woods like apple, cherry, or pecan impart a delicious, subtle smokiness. If you prefer a bolder flavor, a touch of hickory can be great, but avoid overly strong woods like mesquite which can overpower delicate chicken.
- Monitor Internal Temperature Religiously: A good leave-in thermometer or an instant-read thermometer is your best friend. Don't guess!
- Clean Smoke is Key: Aim for thin, blue smoke, not thick, white billows. Thick smoke indicates incomplete combustion and can impart a bitter flavor.
- Don't Fear Higher Temps for Crispness: While 225°F is great for low-and-slow, many pitmasters finish chicken at a slightly higher temperature (e.g., 325-350°F for the last 15-20 minutes) to really crisp up the skin, especially if not saucing.
- Experiment with Rubs and Sauces: The beauty of this smoked chicken legs recipe is its versatility. Play with different spice blends – try a lemon-herb rub for a fresher taste, or a spicy cajun rub for a kick.
There you have it – a comprehensive, step-by-step guide to creating budget-friendly smoked chicken drumsticks that burst with flavor and boast incredibly crispy skin. From the essential brining process to the perfect smoking temperature and that crucial resting period, these 7 steps ensure you'll achieve BBQ perfection every time. So grab your tongs, fire up your smoker, and get ready to enjoy some of the best smoked chicken you've ever tasted, all without breaking the bank!